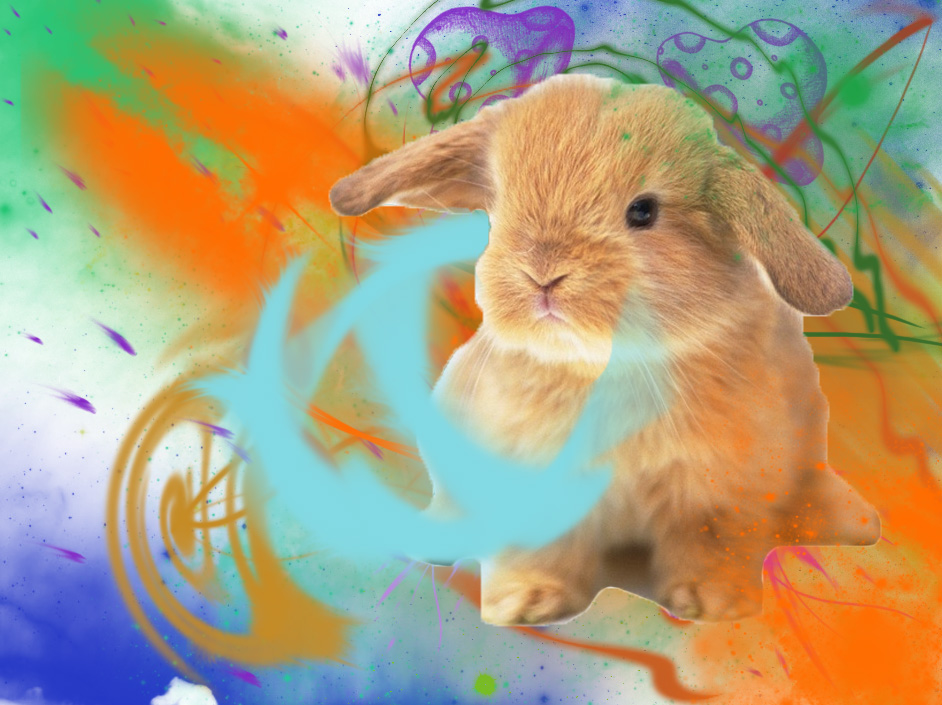
this is my trippy bunny. for this Photoshop i cut out the bunny and placed in on a new layer then started adding different colored brushes. some brushes are in front and some are behind. one of them starts in front and i erased part to make it seem like it wrapped around the bunny.
as you can see here me and my boy spongbob went jelly fishing in the pods. i cut out the jelly fish, spongbob and the net from a picture and placed them into the original. i also cut out myself so i could place spongbob behind methis is my state fair logo! i made it simple and happy. i used the brush tool and drew fair rides and the grass and leaves. the sky is from another picture. i used the leaves because the fair is during the fall time. the three rides i drew were a farris wheel, a drop ride and a roller coasterthis is my snawk picture. i call it this because it is a combination of a snake and hawk. i like the way this picture turned out, it has a nice background and vibrant colors. i used curves and exposure to change the tones and brightness of the picture. a difficult part for me was blending the wings and head into the snake scales. the fur of the hawk and snake scales are very different and contrast each other. i think i did a decent job of blending them together to make it some what natural.
if i could go back i might not have changed the head into a hawks head and kept it as a snake head. the hawks head looks out of place in my opinion but i wanted more of a combination of the two animals. i used the magic select tool to delete all the other parts behind the two animals and used the stamp tool to copy the snake scales to blend them into the winds and head. i also used the erase to the make the two blend better. this picture is a tongue shaped like a frog. in this picture i used the outline of the from and placed it where i wanted. after that i used the clone tool to copy the texture from the tongue into the selected area of the frog. if i could change part of this picture i would blend the area of the from better into the original tongue by using the erase too on a low opacity.this picture is apple with a reflection. in this picture i duplicated the apple and flipped them upside down . before i did that i removed the background with the selector tool. once the apples were aligned with the original upside down i used a gradient tool to lighten the part of the reflection furthest from the apples.this picture is called angry pancakes. in this picture i used the liquify tool to move the pancakes apart. i then put the mouth in the opening and blended the edges into the pancakes. if i could change it i would make the opening cleaner so you couldn't see the distortion when it was stretched out. i also changed the hue on the mouth to an orange shade to better blend in.This picture is called "squad" because these are all of my friends. just me myself and I chillin out. in this picture i cropped myself out and pasted my self back down to make it appear there is multiple of me. if you notice i am also driving. the part that i had trouble with was keeping the shadow. to solve this problem i zoomed in and used my erase to to remove all the other pixels. another problem i faced was that in one of the photos the sun wasn't out like in the others so i was a different shade. i sued the brightness and hue and saturation to match it with the rest of the picture.
if i could go back i might add more clones of myself and possibly have them interact with each other. i also might have opened the door so you can see more clearly that i am also in the driver seat. i also would have waited for the sun to be out in all my pictures so the ground and shadows were all the same. |
AuthorWrite something about yourself. No need to be fancy, just an overview. Archives
September 2015
Categories |