Part 1
1. I feel i have a good understanding on Photoshop now that i have completed the course. i already had experience with Photoshop but i think the class really help me. i learned alot of new shortcuts that made projects faster. i also learned new techniques that can be used in a majority of my projects.
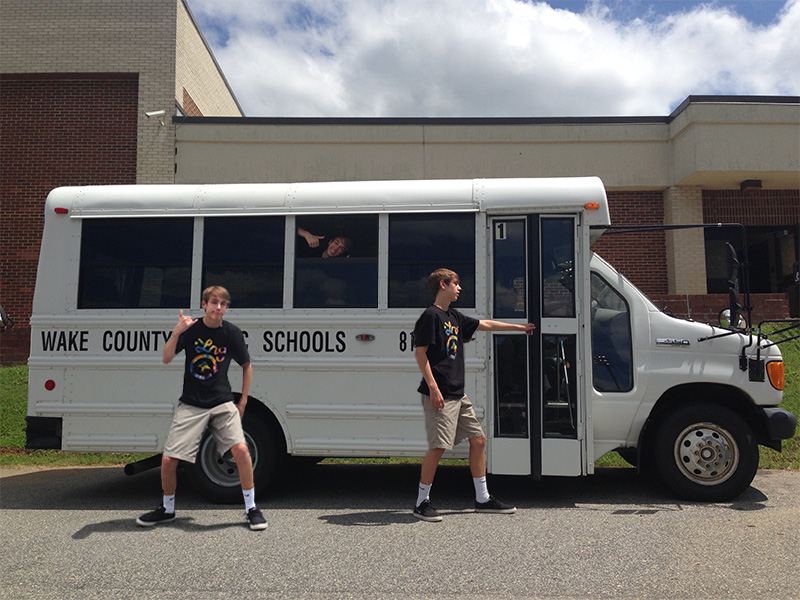
2.my best project was my clone picture. i would say its my best because its the most clean project. it looks the most realistic and least edited yet still looks cool. the clone project was successful because i was able to add the clones of myself in seamlessly and make it look natural. i did have trouble adding the shadows correctly because we took multiple photos and the clouds blocked the sun in some making the shadows not as visible. to fix this i selected just the shadow and darkened the color.
1. I feel i have a good understanding on Photoshop now that i have completed the course. i already had experience with Photoshop but i think the class really help me. i learned alot of new shortcuts that made projects faster. i also learned new techniques that can be used in a majority of my projects.
2.my best project was my clone picture. i would say its my best because its the most clean project. it looks the most realistic and least edited yet still looks cool. the clone project was successful because i was able to add the clones of myself in seamlessly and make it look natural. i did have trouble adding the shadows correctly because we took multiple photos and the clouds blocked the sun in some making the shadows not as visible. to fix this i selected just the shadow and darkened the color.
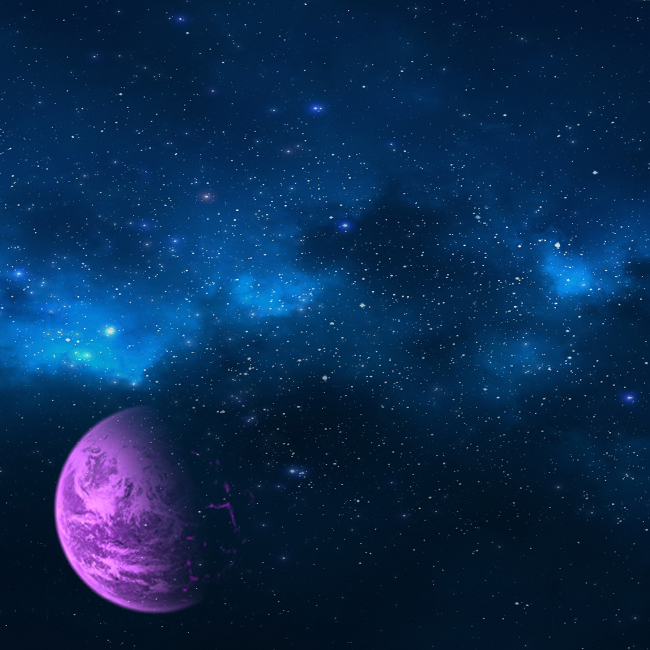
Part 2 Tutorial: "adding planets and adjusting them"
Step 1: obtain a picture of a planet and a picture that you want to add the planet to. it works best if the planet picture has a black background. (night sky, space, ect...)
Step 2: make your background picture the size of your project.
Step 3: add the picture of the planet and adjust it to the size and are you want it.
step 4: select the layer of the planet and select the layer blending adjustment options just above all the layer tabs, select screen. this will get rid of the black and blend it in more.
step 5: if you want to adjust your planet color select the planet layer the click image, adjustments then hue/saturation. you can then slide the bar to adjust the color.
 RSS Feed
